
2.3.1. Generate ENI-File
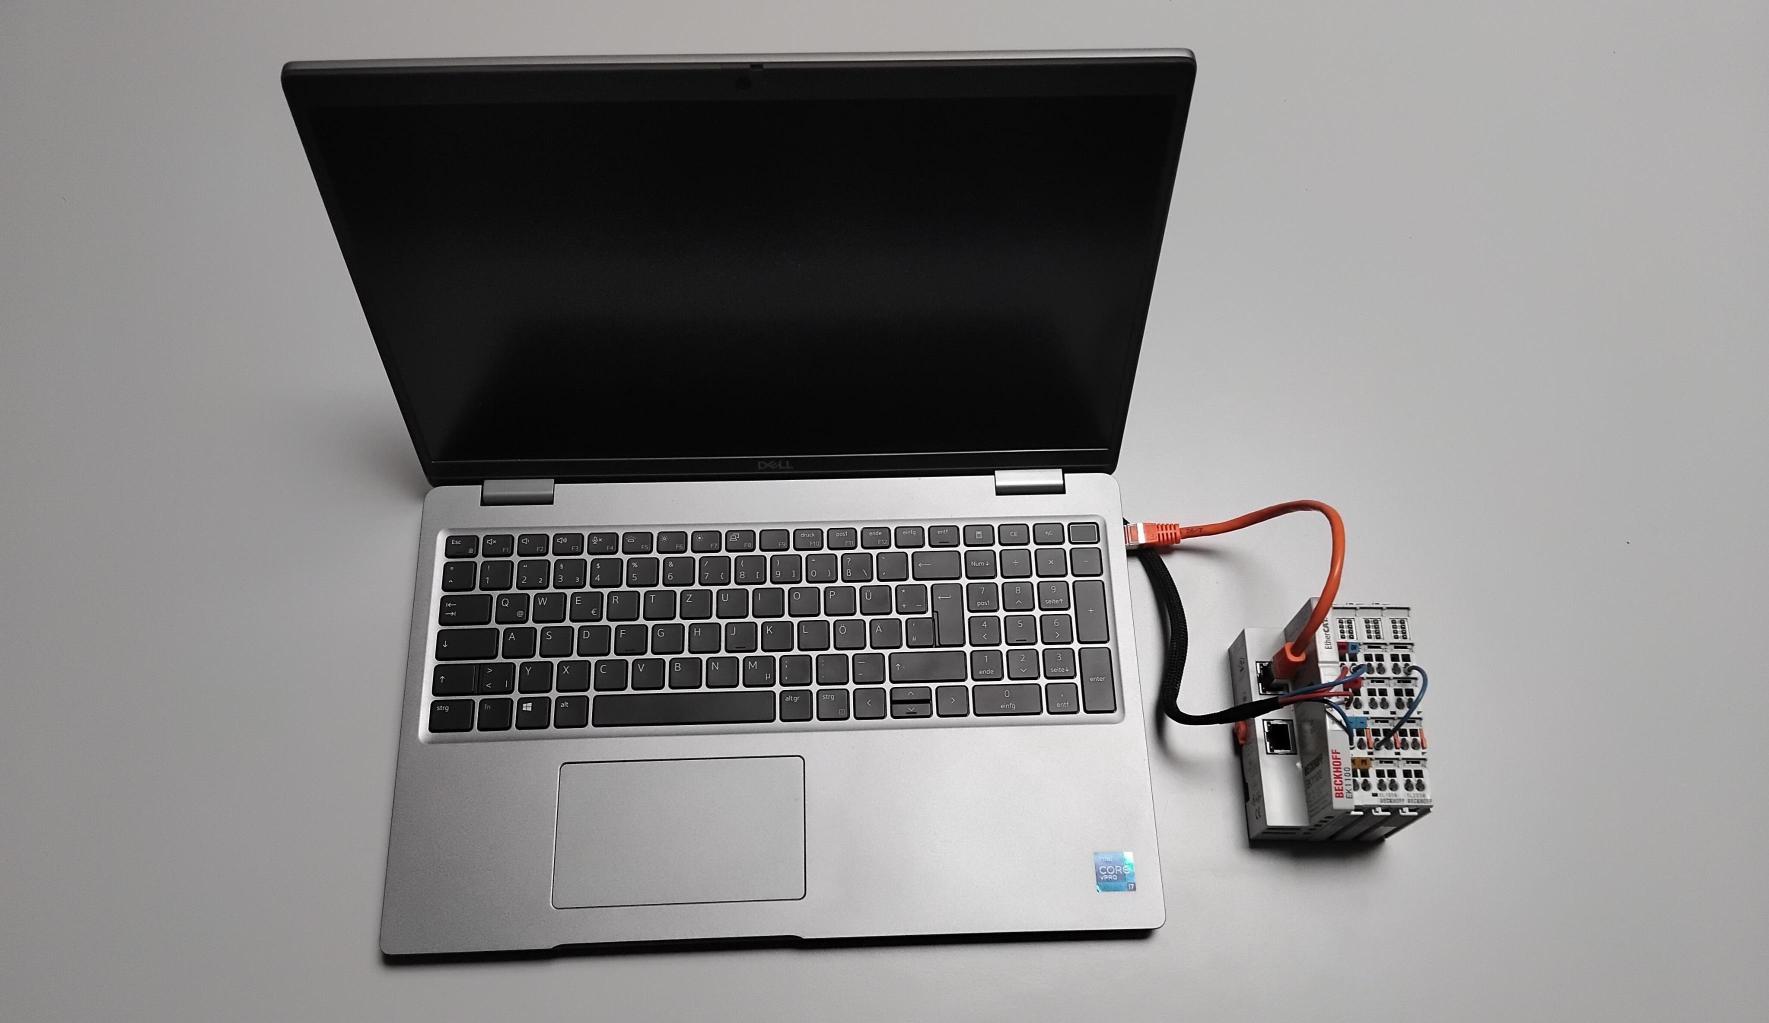
As already mentioned, the master requires an EtherCAT Network Information (ENI) file. For this purpose, the EtherCAT coupler (including the input and output terminals) is temporarily connected to a computer on which Beckhoff TwinCAT 3 is installed, see Fig. 4. Of course, all other available tools can also be used to create ENI files.
You can either follow the general instructions in section “Export Configuration File…” of the Beckhoff TwinCAT3 Manual or follow this example guide below.
2.3.1.1. Open New Project
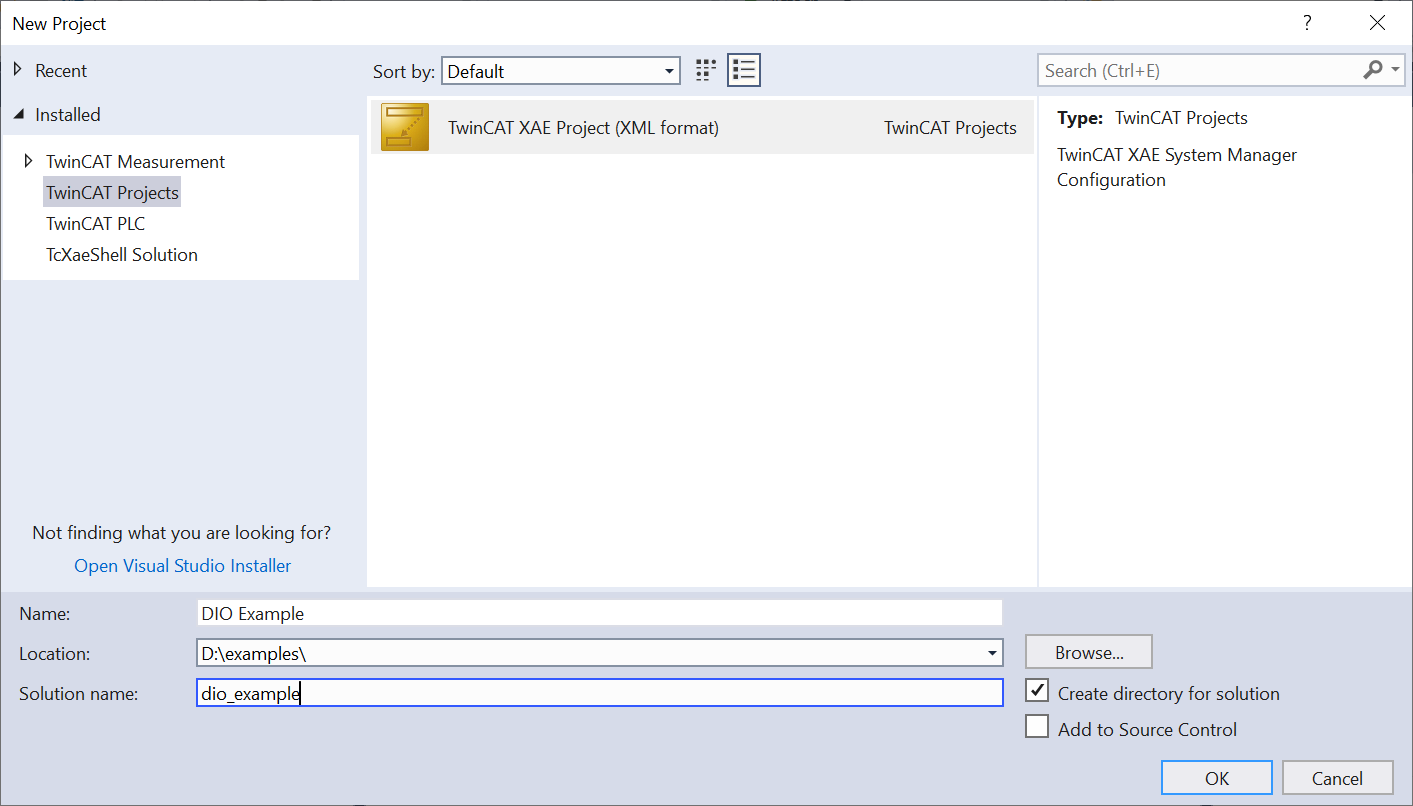
After opening TwinCAT 3 click on File -> New Project. Then fill out the names and provide a location to which the new project is saved. Complete your entered data with a click on OK, as seen in Fig. 5.
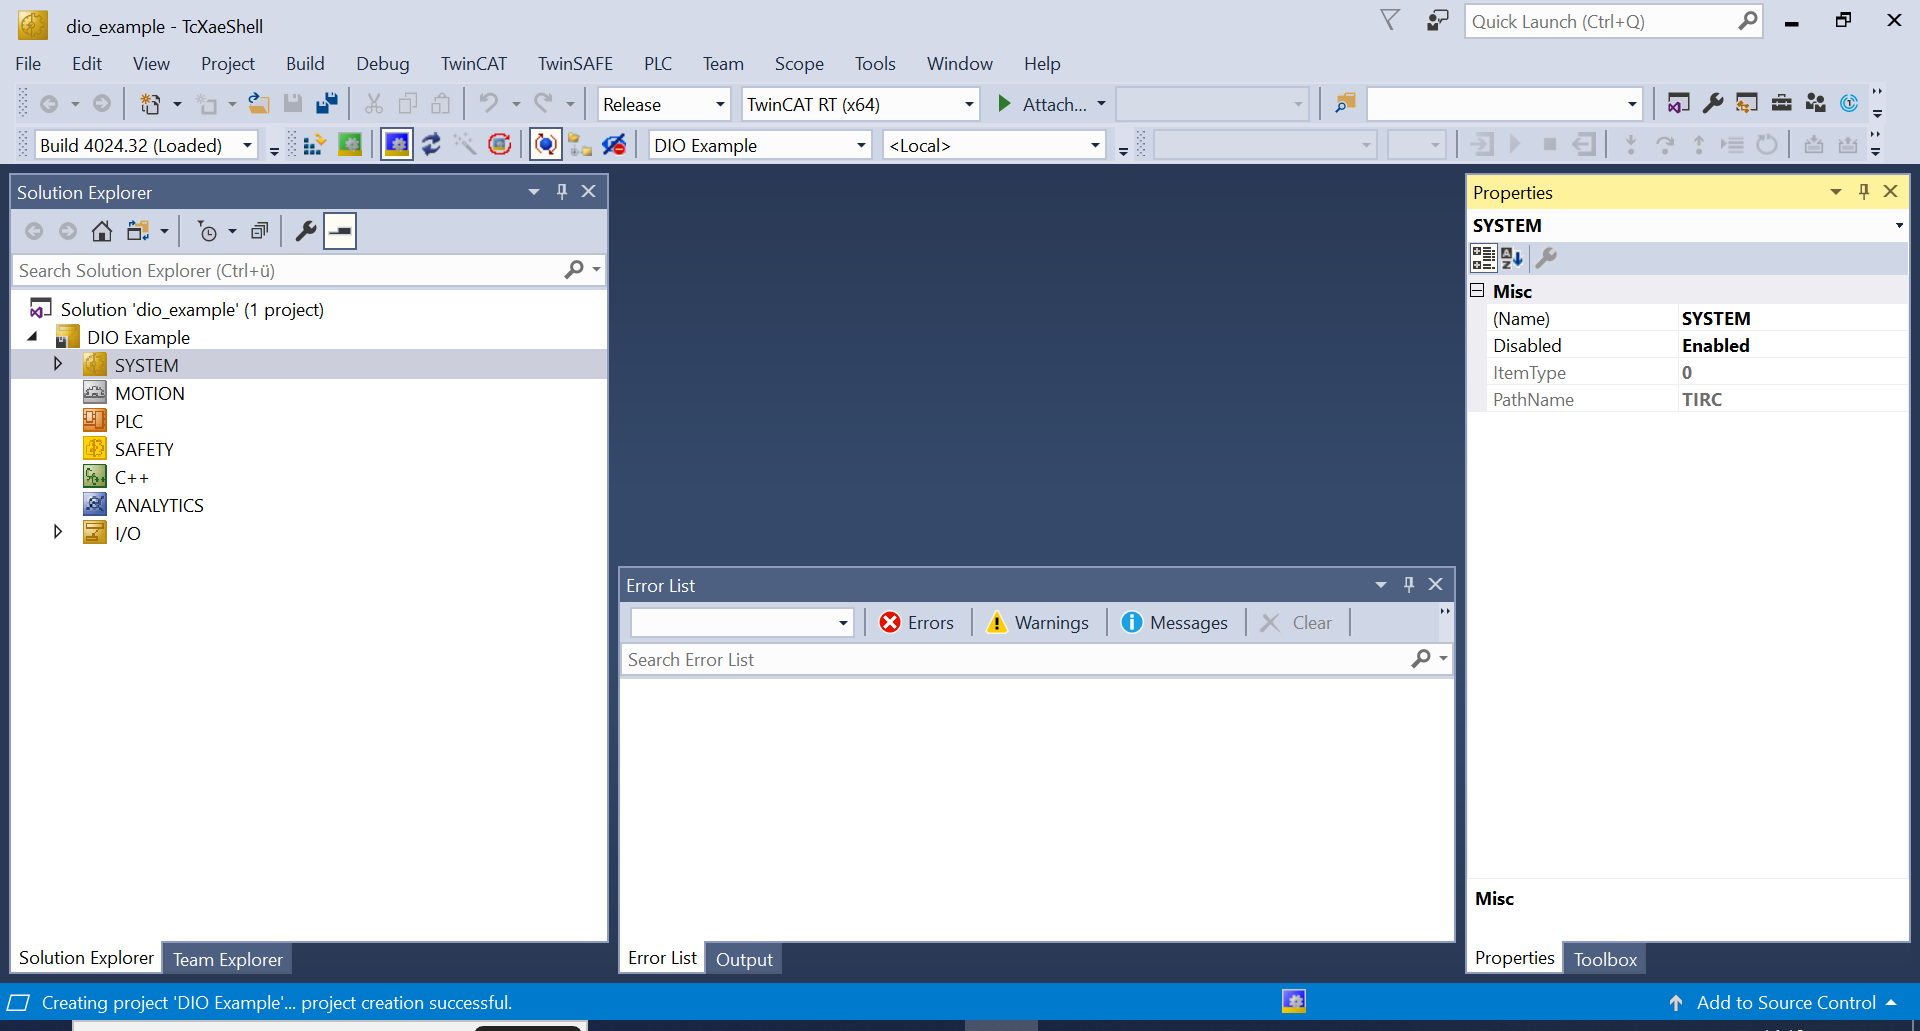
Afterwards the following TcXaeShell window, Fig. 6, appears (it may take a short while).
2.3.1.2. Scan for Devices
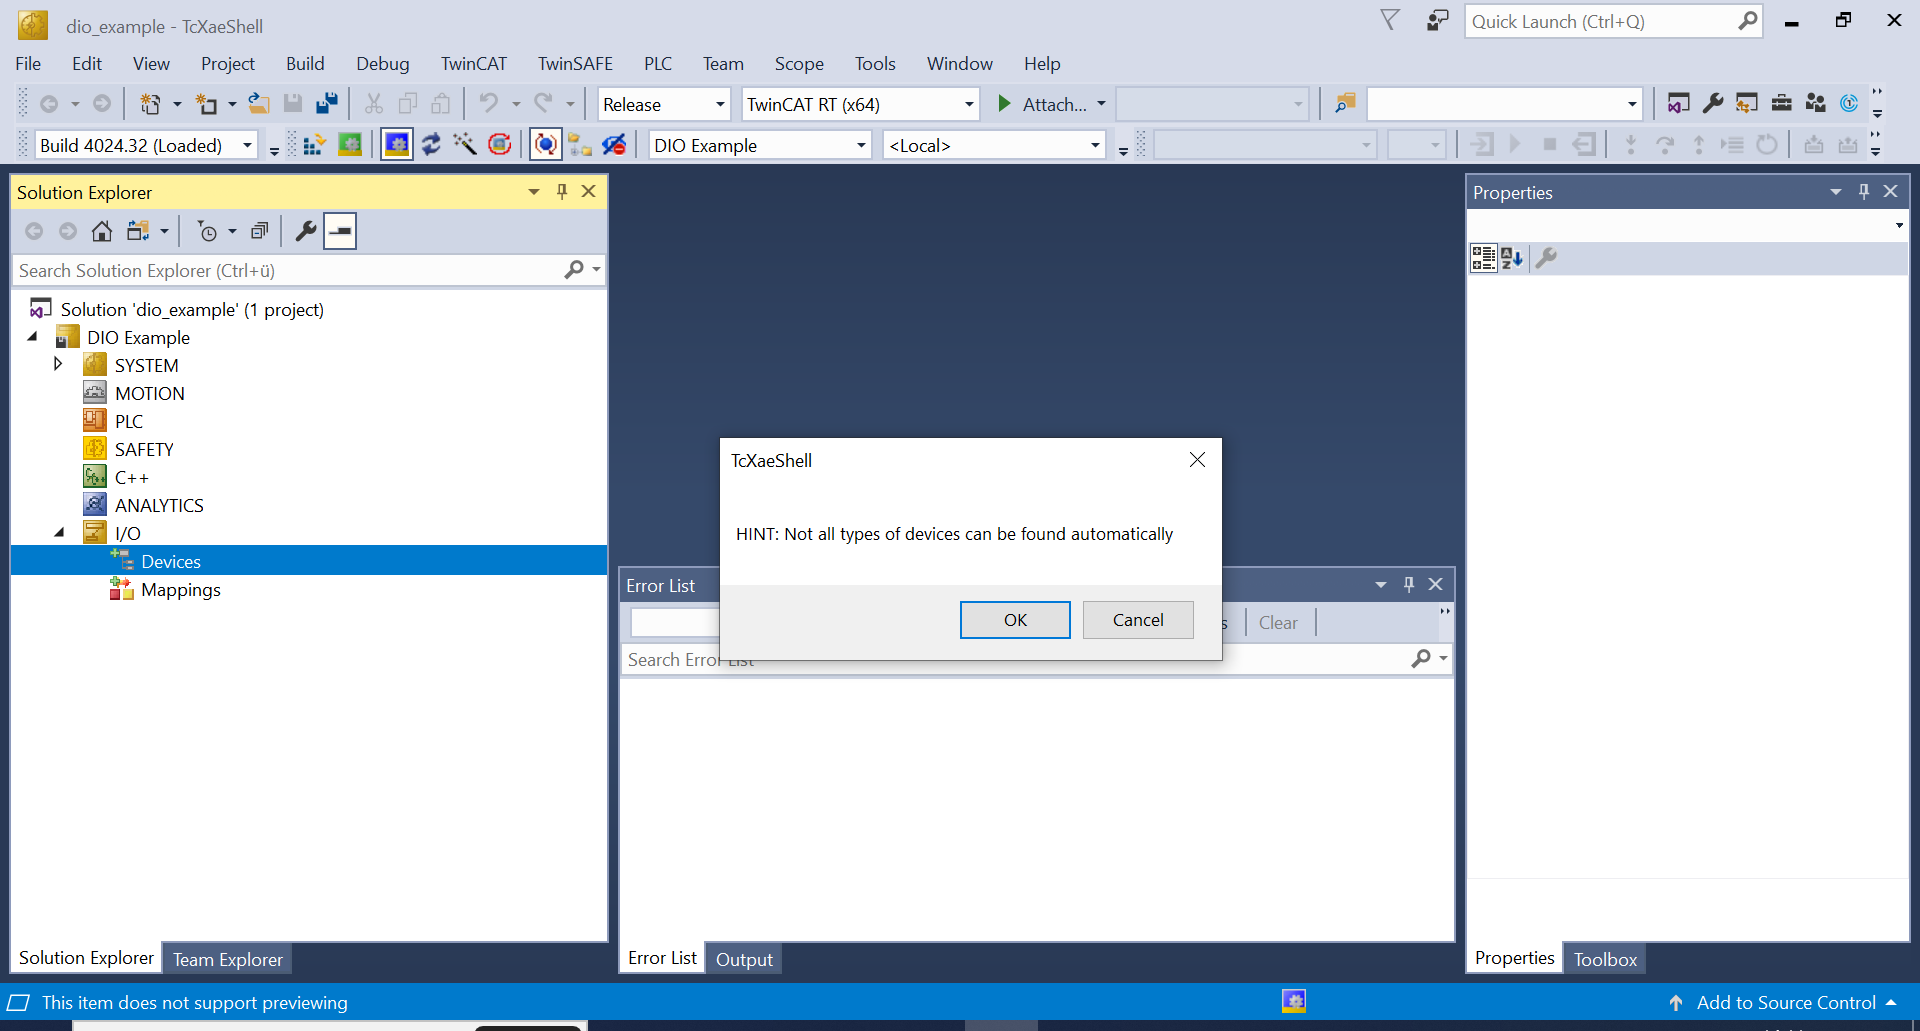
Expand the I/O section in the Solution Explorer with a click on the small triangle and select the Devices section. Afterwards right-click on Devices and then click on Scan. The following pop-up appears, which you can accept with OK, as shown in Fig. 7.
Once new devices are found (in this case I/O devices), a pop-up appears, as shown in Fig. 8. Select the devices you want to use in your project (most likely all) and continue with a click on OK.
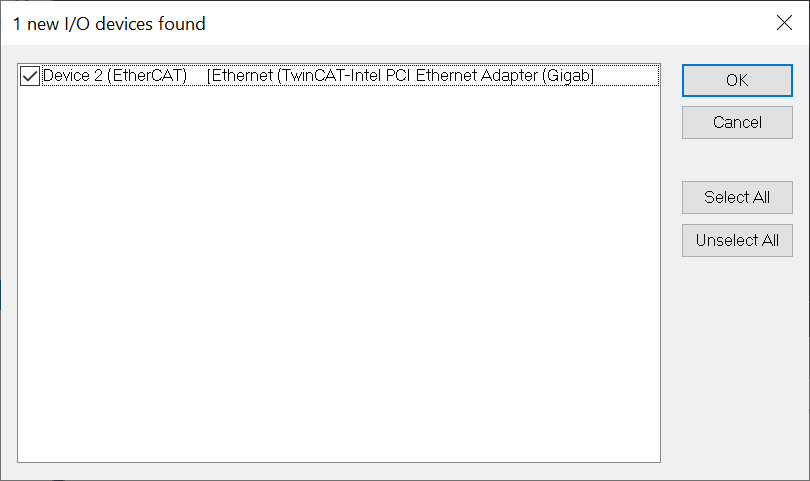
The following pop-ups, which ask the user to scan for boxes and activating the free run, can both be answered with ‘Yes’. Once finished, the devices found (called Device 2 in this example) are listed under Devices. If they do not show up correctly, it might be necessary to download and add ESI files for your devices. Consult the manual of your device and the documentation of TwinCAT 3 in this case.
2.3.1.3. Export ENI-File
Double click to select Device 2. In the upper middle section of the TcXaeShell, which is named after the project (here DIO Example), select the middle tab, labeled EtherCAT. The following view, as seen in Fig. 9, should then appear.
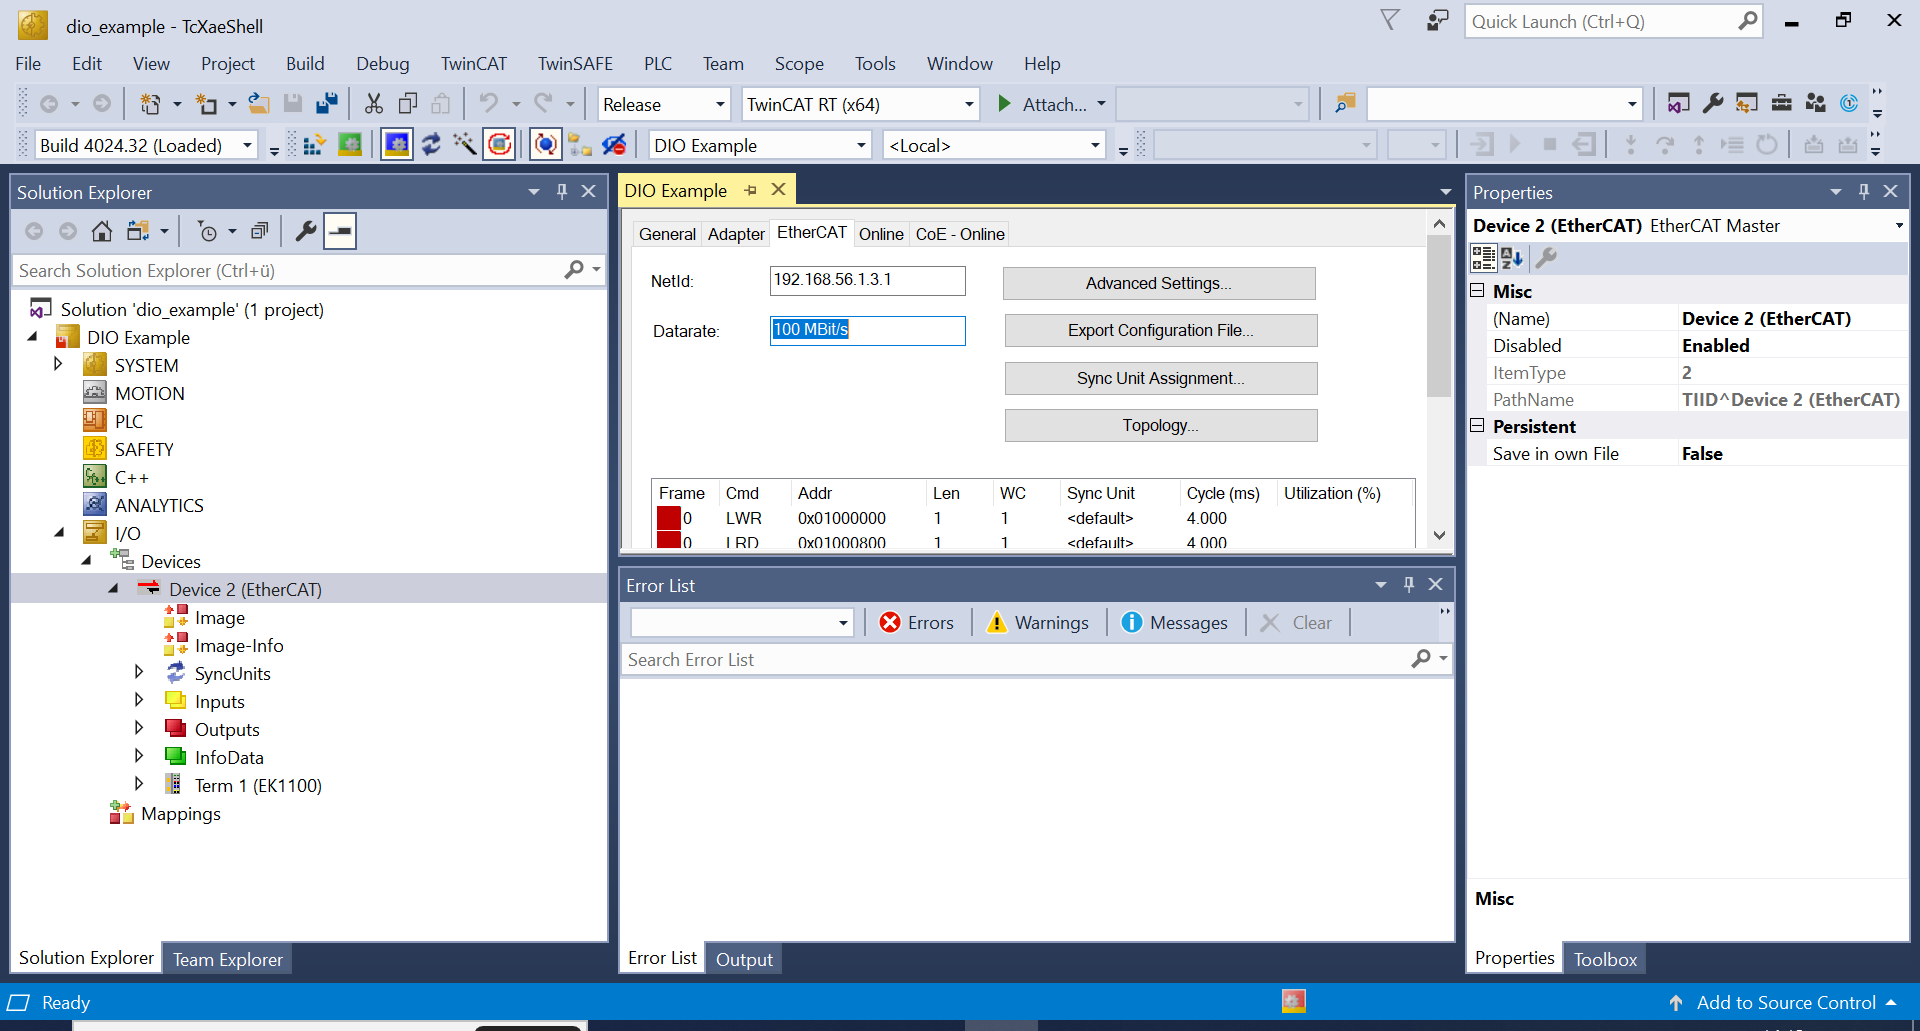
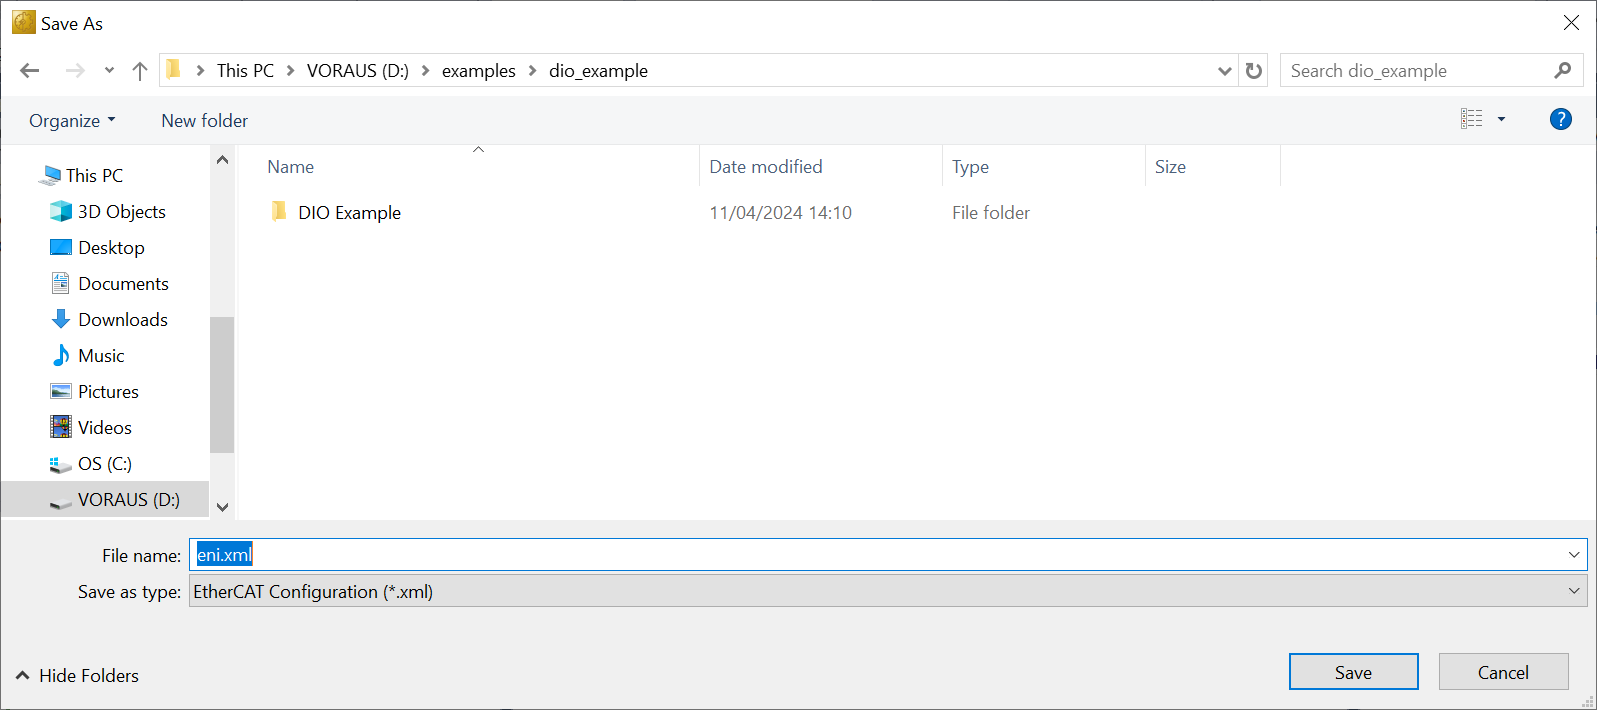
Now click on Export Configuration File… and save the eni.xml to a destination of your choice, see Fig. 10.
2.3.1.4. Reference ENI-File
You can download the created ENI file eni.xml for the
EtherCAT bus structure described in this example.